VLab 2.0: Starting a Session in Windows
Launch VLab and Open a Virtual Desktop
Follow these steps to start a VLab session on a Windows computer. This can only be done after installing the Installing the VMware Client for Windows.
NOTE: If you are having issues or errors logging onto a Desktop, such as "A user has requested a type of logon that has not been granted", please see here: Step 6
1. Select the VMware Horizon Client icon on your desktop or perform a search for it.
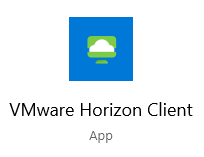
2. Select the New Server button at the top left.

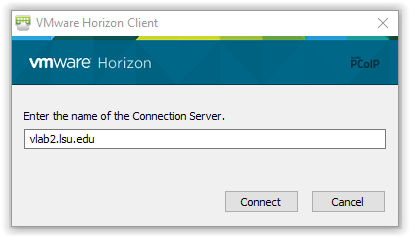
3. Enter the Server Address: vlab2.lsu.edu then Click Connect at the bottom right.
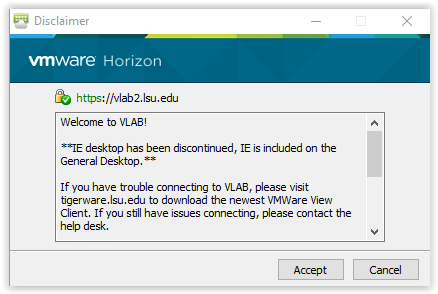
4. Click Accept to the disclaimer at the bottom right.
5. If you have not already done so, connect to the LSU VPN if you are off-campus. Or, check to make sure you are still connected. For more information about the LSU VPN, please see this article: VPN / Virtual Private Network: LSU Overview.
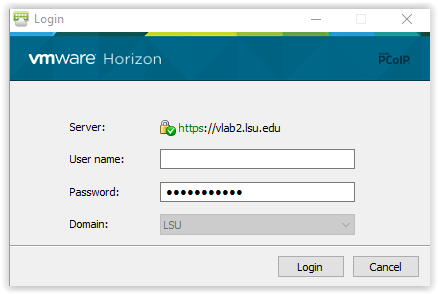
6. Enter your MyLSU ID & MyLSU Password. Confirm that the Domain is LSU, then Click Login at the bottom right.
7. Select the VMware Desktop you would like to login to and double click it to Connect.
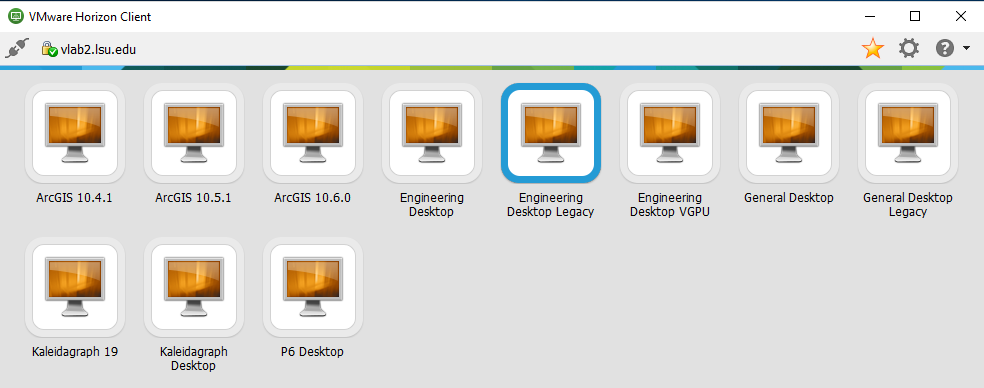
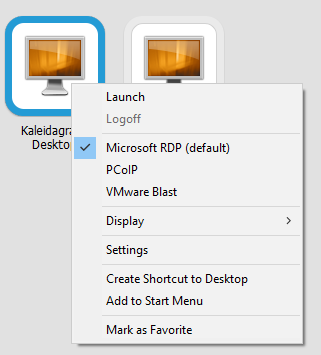
NOTE: If you see an error message stating you are "not being granted access by your administrator," please right-click the desktop you are trying to use and select either "VMWare Blast" or "PCoIP" as your connection protocol, with Blast being preferable.
Blast is newer tech and probably performs better, and in some cases (Engineering Desktops with Applications requiring accelerated graphics) it's required. PCoIP is older, so more of a backup if RDP or Blast don't work for some reason.
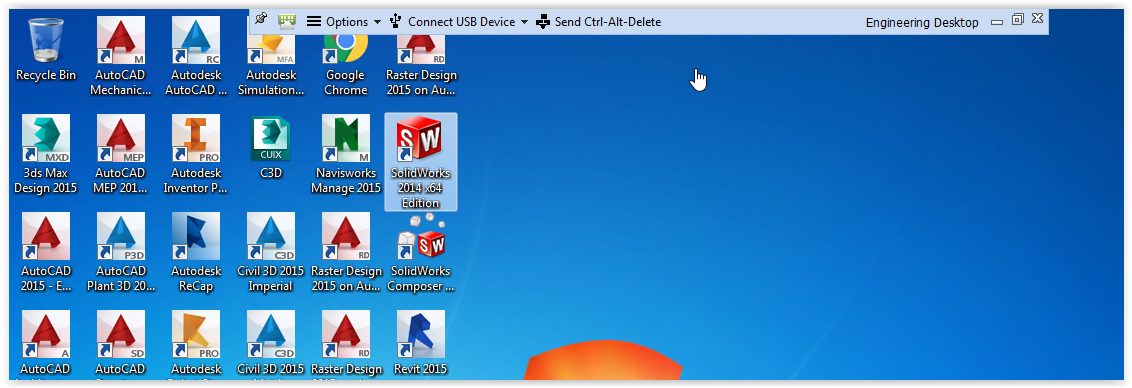
8. The VLab Desktop will open and look something like this:
Note: Use the control bar at the top to manage the server.
Referenced from: Vlab
16078
2/5/2025 1:41:04 PM